Home
Create a MDX Blog in NextJS 13 (using TailwindCSS)
Table of Content
- Setting up our app
- Create our first blog
- Create our homepage
- Create our blog page
- Setup Blog Metadata
- Create MDX Components
- Rehype & Remark Plugins
- Future Improvements
Intro
In this tutorial, I'll show you how to setup a Next.js 13 Blog that utilises the new App Directory. It will use MDX (Extended Markdown) pages for the blogs themselves as well as TailwindCSS for the automatic styling of these blogs. We'll extend the functionality of the blog by looking at MDX Components that can add interactivity to our MDX blogs. Finally, we'll look at remark & rehype plugins, specifically remark-gfm which will allow "GitHub Flavoured" markdown such as tables and task lists.
In order to learn more about MDX, take a look at this blog here: What is MDX?
In Next.js there are 3 approaches for rending MDX pages:
- next/mdx - The official tool built by the Next.js team
- mdx-bundler - A fast, mdx compiler and bundler
- next-mdx-remote - Built by Hashicorp
In this tutorial we'll use next-mdx-remote, reading our blogs from the file system. next-mdx-remote gives us the ability to expand in the future and pull blogs from external sources such as a database, a CMS (Content Management System) such as Contentful or Headless Wordpress, or even an external tool such as Notion.
1. Setting up our app
To setup our application, we're going to use the following command. This will create the basic Next.js template application with TailwindCSS automatically configured.
npx create-next-app@latest --tailwind
When prompted we will select the following options:
- Project Name - choose an appropriate name such as
my-mdx-blog - Use Typescript - Yes
- Use ESLint - Yes
- Use
src/directory - No - Use
app/directory - Yes - Would you like to customize the default import alias - No
Setup Packages
There are a few required packages to install; to do so, run the following commands:
npm install next-mdx-remote- We will use this to display our MDX files as blogsnpm install gray-matter- This will allow us to add metadata to our blogs such as title or descriptionnpm install @tailwindcss/typography- This will allow us to automatically style every markdown element in our blog without writing the CSS for every component ourself.
Add TailwindCSS Plugin
In the tailwind.config.js file, we now need to add the typography plugin to our current TailwindCSS setup:
// tailwind.config.js
module.exports = {
  ...
  plugins: [
    require('@tailwindcss/typography')
  ],
}
Cleanup Default Styling
In the globals.css file, remove all the pre-written CSS and replace it with the following. This imports tailwindcss into our application.
/* globals.css */
@tailwind base;
@tailwind components;
@tailwind utilities;
Basic Styling
In our root layer (/app/layout.tsx) update the html tag to include the following styling. This will setup basic styling such as a dark background, white text as well as padding & max width. As this is in the root layout, it will apply to every page in our application.
// app/layout.tsx
  return (
    <html lang="en" className='bg-slate-900 text-white max-w-3xl mx-auto py-20 px-4 '>
      <body>{children}</body>
    </html>
  )
2. Create our first blog
Now that our application is setup, we can create our first blog.
Create Blogs Directory
Create a new directory in the root of our project called blogs, this is where all our .mdx blogs will be stored.

first-blog.mdx
Create a file called first-blog.mdx and enter the following:
---
title: My First Blog
date: '18th April 2023'
description: Welcome to my first blog.
---
This is my **first** blog post using *markdown*.
### My subheading
Here is an image:

There is a code snippet below:
```
export function myComponent(){
return (
<p>test</p>
)
}
```
The top section of this file with the title, date & description is Frontmatter and allows us to include metadata for our blog post which other pages in our application can read and utilise using the gray-matter package we installed.
Blog Images
As you can see the above mdx blog includes an image "/img/laptop.jpg". For this I used this photo from Unsplash however feel free to use any picture you like.
Create your img directory in the public folder and save your laptop.jpg image here:
3. Create our homepage
The homepage will display the title & description of each blog post with a link to the full post.
Required Imports
First we need to import:
fsto read our blogs from the file systempathto find the local path to our blogsmatterto extract the metadata from our blogsLinkto be able to link to our blogs
// app/page.tsx
import fs from 'fs'
import path from 'path'
import matter from 'gray-matter'

import Link from 'next/link'
Read .mdx Files
Now we need to read the files themselves. We will return the metadata that we setup at the start of our blog (title, description and date) as well as the page's slug.
The slug will make up part of the URL to the blog: /blogs/[slug]
For each blog our slug will simply be the name of the file (without .mdx on the end)
// app/page.tsx
export default function Home() {

  // 1) Set blogs directory
  const blogDir = "blogs"

  // 2) Find all files in the blog directory
  const files = fs.readdirSync(path.join(blogDir))

  // 3) For each blog found
  const blogs = files.map(filename => {

    // 4) Read the content of that blog
    const fileContent = fs.readFileSync(path.join(blogDir, filename), 'utf-8')

    // 5) Extract the metadata from the blog's content
    const { data: frontMatter } = matter(fileContent)

    // 6) Return the metadata and page slug
    return {
      meta: frontMatter,
      slug: filename.replace('.mdx', '')
    }
  })
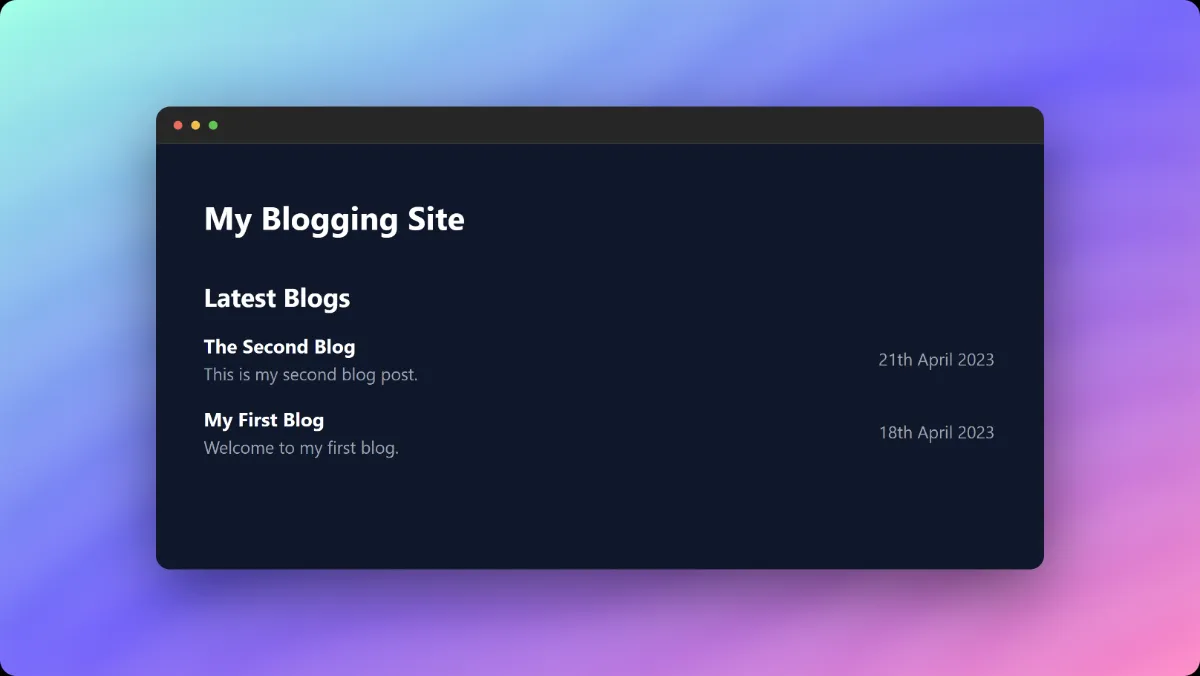
Display Blog Previews
Now that we've got our blogs variable, we can now display the blogs on the page. Here I am mapping through each blog and displaying the blog's title & description. The link tag also links to the individual blog page.
// app/page.tsx
  return (
    <main className="flex flex-col">
      <h1 className="text-3xl font-bold">
        My Blogging Site
      </h1>


      <section className='py-10'>
        <h2 className='text-2xl font-bold'>
          Latest Blogs
        </h2>

        <div className='py-2'>
          {blogs.map(blog => (
            <Link href={'/blogs/' + blog.slug} passHref key={blog.slug}>
              <div className='py-2 flex justify-between align-middle gap-2'>
                  <div>
                      <h3 className="text-lg font-bold">{blog.meta.title}</h3>
                      <p className="text-gray-400">{blog.meta.description}</p>
                  </div>
                  <div className="my-auto text-gray-400">
                      <p>{blog.meta.date}</p>
                  </div>
              </div>
            </Link>
          ))}
        </div>
      </section>
    </main>
  )
}
If we run our application with npm run dev we can see our blog preview being displayed on the home page of our application:
4. Create our blog page
The blog page will display the content of the blog itself, to do this it will use MdxRemote to render the .mdx file into html. It will then use TailwindCSS's Typography Plugin to automatically style our markdown.
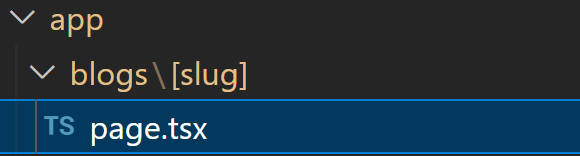
First create the /app/blog/[slug] directory and then create the page.tsx file inside. The [slug] in the directory makes this a dynamic route.
Imports
First add the imports to the blog page. These are the same imports as the home page other than the MDXRemote which will be used to render the blog itself.
// app/blog/[slug]/page.tsx
import fs from 'fs'
import path from 'path'
import matter from 'gray-matter'

import { MDXRemote } from 'next-mdx-remote/rsc'
Generate Static Params
By default, dynamic routes are generated on-demand at request time which leads to slow loading pages with bad SEO. Instead, as our blogs aren't going to regularly change, we can statically generate the routes for these blogs at build time.
To do this, we fetch all files in the "blogs" directory and return an array of slugs for each file.
// app/blog/[slug]/page.tsx
export async function generateStaticParams() {
    const files = fs.readdirSync(path.join('blogs'))

    const paths = files.map(filename => ({
        slug: filename.replace('.mdx', '')
    }))

    return paths
}
Get Post Method
This method will simply fetch a blog post from a given slug. To do this it reads the file in the "blogs" directory with the same filename as the slug. It then uses matter to fetch the metadata and markdown content of this file and returns the FrontMatter metadata, inputted slug and markdown content.
// app/blog/[slug]/page.tsx
function getPost({slug}:{slug : string}){
    const markdownFile = fs.readFileSync(path.join('blogs',slug + '.mdx'), 'utf-8')

    const { data: frontMatter, content } = matter(markdownFile)

    return {
        frontMatter,
        slug,
        content
    }
}
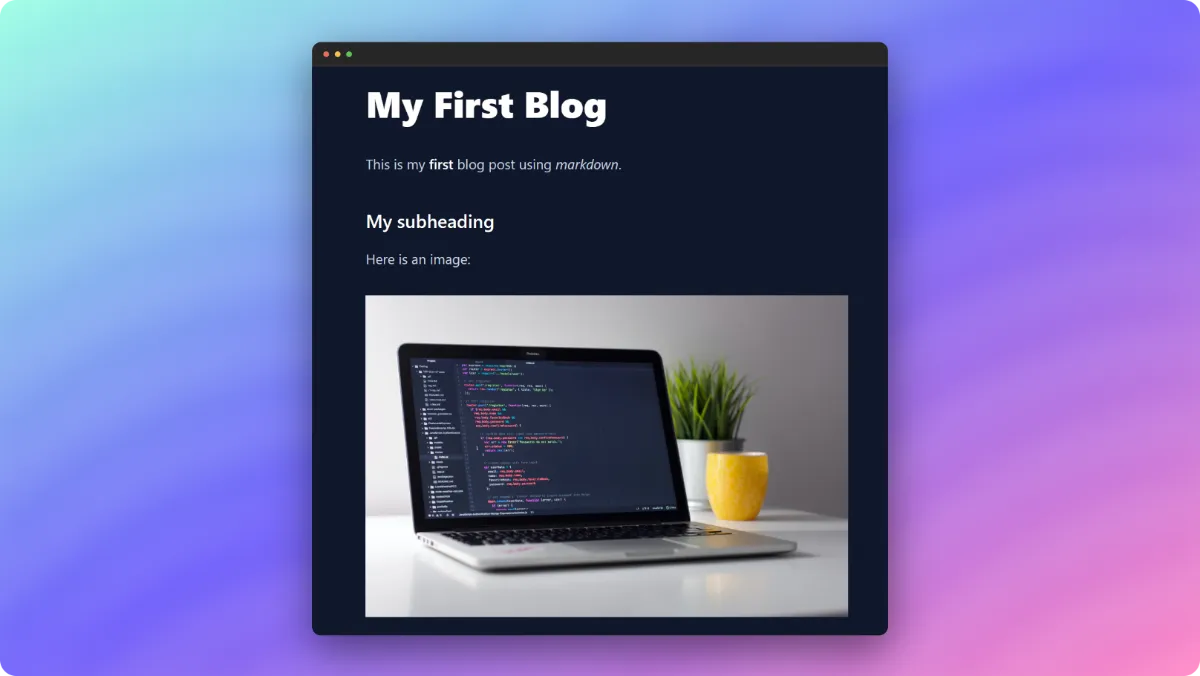
Display Blog Post
Finally, we display the blog post itself. We first fetch the post with the getPost method and then display it using the MDXRemote component.
We also display the blog's title at the top of the page too.
// app/blog/[slug]/page.tsx
export default function Post({ params } :any) {
    const props = getPost(params);

    return (
        <article className='prose prose-sm md:prose-base lg:prose-lg prose-slate !prose-invert mx-auto'>
            <h1>{props.frontMatter.title}</h1>

            {/* @ts-expect-error Server Component*/}
            <MDXRemote source={props.content}/>
        </article>
    )
}
In the code extract above we are using prose from TailwindCSS to display the markdown in a pretty format without having to style it ourselves. We are also using different prose colours (prose-slate, prose-invert) and sizes (prose-sm, prose-lg) which makes the blog page mobile responsive too.
5. Setup Blog Metadata
Setting up Metadata for your Next.js blog will really help in ranking your site on Google. The main 2 metadata tags to setup are title and description however there are many more that you may want to setup.
To generate metadata for your blog, you can use the generateMetadata method.
// app/blog/[slug]/page.tsx
export async function generateMetadata({ params } : any) {
    const blog = getPost(params);

    return{
        title: blog.frontMatter.title,
        description: blog.frontMatter.description,
    }
}
Here we are simply setting the "title" and "description" metadata tags to that of of blog. We can easily expand this to set OpenGraph tags too.
6. Create MDX Components
One of the main benefits of using MDX over traditional markdown is that we can use components inside our MDX files to add interactivity to our pages. To demonstrate this, I'll show you a basic example of adding a button to our blog post.
First we need to create the button component. As this uses client-side code (useState) we need to use the use client directive.
// components/mdx/Button.tsx
'use client';

import { useState } from "react";

export default function Button({ text } : {text : string}){

  const [toggle, setToggle] = useState(false)

  return (
      <button className="bg-slate-700 rounded-md px-4 py-2"
              onClick={() => setToggle(!toggle)}>
        {toggle ? text : "Click Me"}
      </button>
  )
}
We then need to add this component to our MDXRemote components array.
First import the button into our blog page:
// app/blog/[slug]/page.tsx
import Button from '@/components/mdx/Button'
Then update our MDXRemote component to include the new component:
// app/blog/[slug]/page.tsx
<MDXRemote source={props.content} components={{Button}}/>
Finally, we can use the button component in our mdx blog:
// blogs/first-blog.mdx
...
And here is our button:

<Button text="my button"/>
Which once added, provides the following functionality:
Using this approach, we can override existing default components too with custom versions of those components, such as our custom link mdx component. Or add additional functionality such as embedding YouTube Videos in our MDX Blog.
7. Rehype & Remark Plugins
To extend MDX further, we can use both rehype & remark plugins. These plugins allow things such as additional markdown syntax, code highlighting inside your blog post or automatic generation of table of contents.
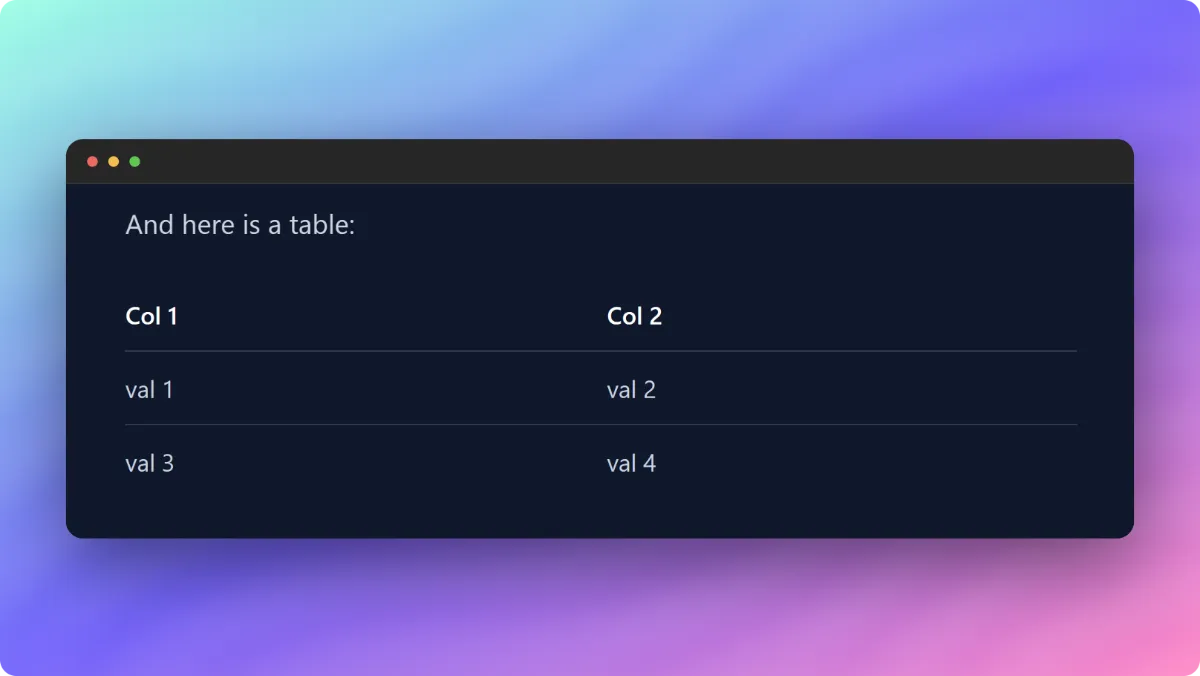
To demo how these work, we'll be adding the remarkGfm plugin which allows us to add additional markdown features to our blogs such as simple tables.
Install Plugin
First we need to install the plugin with this command:
npm install remark-gfm
Update blog post
We can now update our blog post to include a markdown table:
// blogs/first-blog.mdx
And here is a table:

| Col 1 | Col 2 |
| ----- | ----- |
| val 1 | val 2 |
| val 3 | val 4 |
Update MdxRemote
Finally, for this table to render correctly, we need to add the plugin to our MDXRemote component:
First we setup our mdx options:
// app/blog/[slug]/page.tsx
import remarkGfm from 'remark-gfm'

const options = {
    mdxOptions: {
        remarkPlugins: [remarkGfm],
        rehypePlugins: [],
    }
}
Then we pass these options through to our MDXRemote component:
// app/blog/[slug]/page.tsx
<MDXRemote source={props.content} components={{Button}} options={options}/>
When we run our application, our table will now render correctly:
8. Future Improvements
That is it, now you have a MDX blog created with Next.js. There are now many areas that you can expand this application further including:
- Home Page - Order posts by date created
- Home Page - Only show first 10 posts
- Blogs Page - Create a "/blogs" page that shows all blogs in a paginated view
- Blog Page - Add extra metadata such as "tags" or "blog series" to create dynamically generated pages of related blogs