Home
MDX Syntax Highlighting in Next.js using Highlight.js
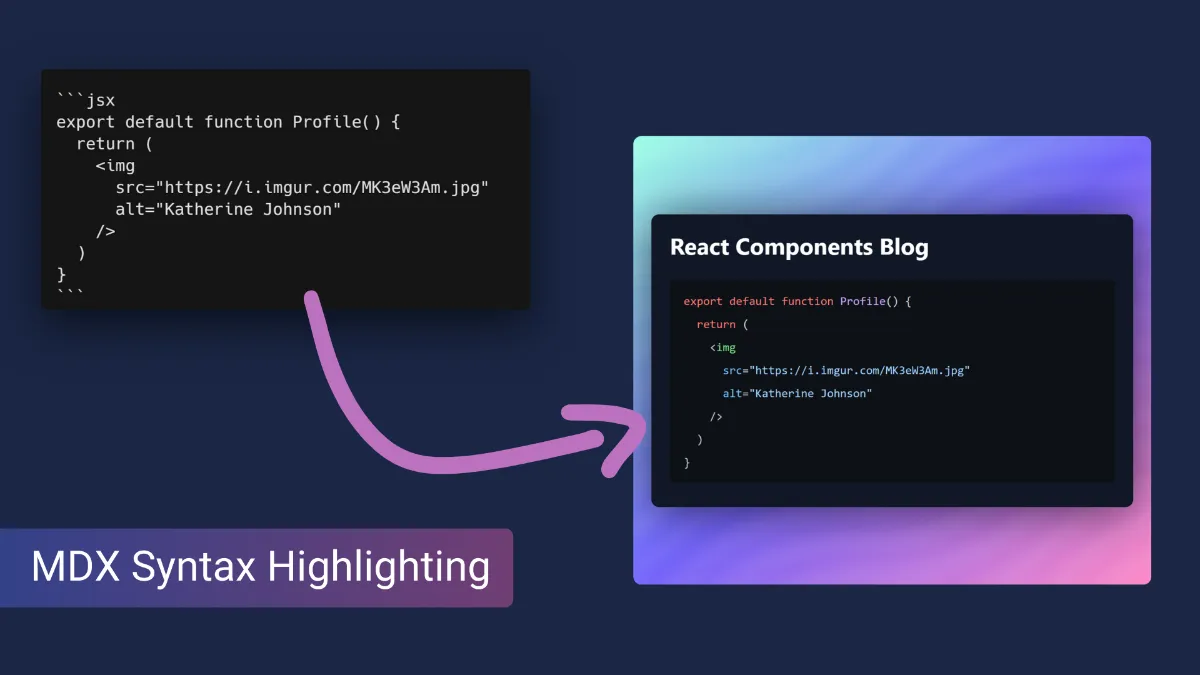
In this tutorial, we'll setup highlight.js using the rehypeHighlight MDX plugin to allow code blocks in our mdx files to include syntax highlighting. We'll then choose a highlight.js theme to add to our Next.js site in order to style the code blocks as we choose.
Requirements
For this tutorial, I expect you've got MDX setup within your Next.js application. If you don't already then take a look here to setup a mdx blog using Next.js. I'll be using the next-mdx-remote MDX provider however this tutorial will work for other providers such as @next/mdx too.
With our application setup, we need to install the rehype-highlight plugin, which will add CSS classes to different parts of our code snippets (allowing our chosen highlight.js style to stylise the different parts of the code). To install the plugin, run this command:
npm install rehype-highlight
Setup Highlight.js Plugin
With the plugin installed, we now need to add it to our MDX provider. To do this, first import the plugin into your "blog" page and add it to the array of "rehypePlugins":
// app/blog/[slug]/page.tsx
import rehypeHighlight from 'rehype-highlight';

const options = {
    mdxOptions: {
        remarkPlugins: [],
        rehypePlugins: [rehypeHighlight],
    }
}
Then we pass these options through to our MDXRemote component:
// app/blog/[slug]/page.tsx
<MDXRemote source={props.content} components={{Button}} options={options}/>
Additional Configuration
The rehypeHighlight package does allow additional configuration which you can see here, one of those options is enabling additional languages which you can do by changing your mdx options to something like this:
// app/blog/[slug]/page.tsx
import rehypeHighlight from 'rehype-highlight';

import langHttp from 'highlight.js/lib/languages/http'
import langNginx from 'highlight.js/lib/languages/nginx'

const options = {
    mdxOptions: {
        remarkPlugins: [],
        rehypePlugins: [
            [ rehypeHighlight, { languages: { http: langHttp, nginx: langNginx} }]
        ],
    }
}
Here you can see we are adding the rehypeHighlight plugin while also configuring 2 additional languages (http and nginx). The list of all supported languages can be found here.
Styling your Code
Now that we have the plugin setup, our code blocks now have the correct CSS class names ready to be styled. The next step is to choose the theme we would like to use.
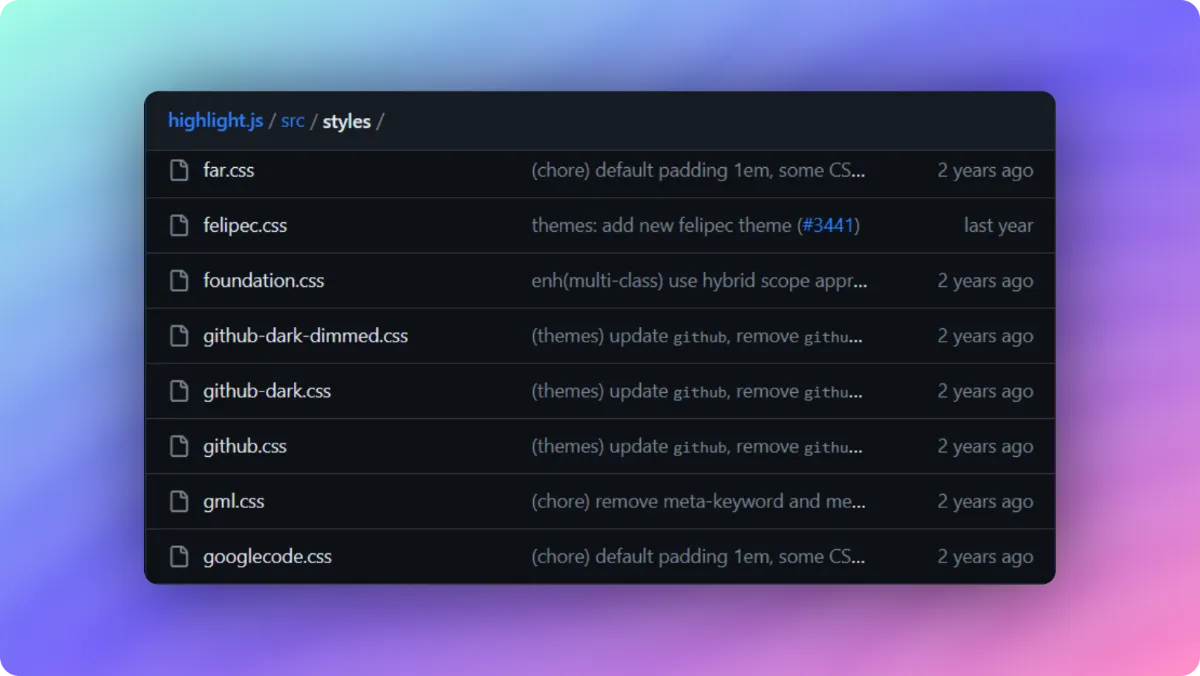
- Find the theme you want to use: Highlight.js Styles - Demo
- Download the theme from Github: Highlight.js Styles - Download
- Place the downloaded CSS file in the following new directory in your project:
styles/highlight-js
We can now import this style into our blog page so it'll automatically be pulled in by the browser whenever someone enters a page with code blocks:
// app/blog/[slug]/page.tsx
import "@/styles/highlight-js/github-dark.css"
Fixing Styles for TailwindCSS
If you're using TailwindCSS, then there is 1 small fix you can make to the .css file you download. Find the .hljs tag in the file and update it to include pre:has(.hljs), too:
Turn the following code:
.hljs {
    color: #c9d1d9;
    background: #0d1117;
}
Into this:
pre:has(.hljs), .hljs {
    color: #c9d1d9;
    background: #0d1117;
}
This selector will add the background colour not only to the highlight.js element (.hljs) but also to any pre tags that contain child elements with .hljs. This ensures that the full background colour of our codeblock is consistent.
Using Syntax Highlighting in MDX
To add syntax highlighting to your MDX pages, you need to add the language to your code blocks, like this:
```python
print("Hello, World!")
```
By adding the "python" language to our codeblock, the block will now be styled with syntax highlighting:
print("Hello, World!")
That's it, you've now got code syntax highlighting setup in your MDX Next.js site. By default rehypeHighlight supports 35 default supported languages however you can easily register more languages.
Related Blogs
Thanks for reading this tutorial, if you learnt anything from it (or have any questions), feel free to reach out on Twitter.
If you liked this tutorial, then I have many more just like it to help you learn more about MDX & Next.js: